I don't have much time to write as I have a wedding to get ready for, but before I clean up (I've been weeding my garden all morning) and pick out a dress, I thought I'd share with you my final mug rug in the series of three. All were created with scraps of Modern Meadow and with left over ash and turquoise Kona Cotton solids. They are all straight-line quilted, but in different patterns. I like how they turned out, but I think the one with the turquoise border is a bit too bold for the set. I like the other two better, but no time to make a new one and I like everything but the binding on that one. So here's the newest addition made last night:
And all together now!
Here's a back shot so you can see the quilting a bit better. Though, I guess you can see it pretty well on the front. Well, I like the colors together!
I hope the new couple loves these little mug rugs and will use them often. I'd rather they get spotted and stained than put away in a drawer and never used (I have a few wedding gifts like that which I'm just starting to weed out for donations.) Happy Saturday everyone!
Saturday, April 30, 2011
Wednesday, April 27, 2011
Wednesday Progress Report
I’ve been working hard this week. I finished piecing my Day at the Zoo quilt top featuring Alexander Henry’s Teeny Tiny Zoo and several different Robert Kaufman Kona Cotton solids (I’ll specify colors in a later post) in a variety of cool colors. Oh yes, and can I say that not only are Teeny Tiny Zoo and 2-D Zoo prints maternal-instinct-producing-ly cute, they are also a pleasure to work with. They were hardly wrinkled when I pulled them out of the dryer and they are so nice to press and sew. A real treat!
This quilt is my first attempt at piecing HSTs and while my points turned out decently well, I could certainly use more practice. After piecing the entire top (doesn’t that always happen?), and while I was working on a pinwheel for the back, I realized that it’s actually much easier to piece them if you press the seams in opposite directions so they sort of lock together as you stitch them. So there’s one more lesson learned! I’m thinking of having a “Tuesday Tips” series in which I would post something new that I’ve learned about quilting since I’m learning so much as I go. I’m afraid to commit to a schedule though. Tune in next Tuesday to see if Side Stitches can overcome her fear of commitment and reader expectation!
I also finished piecing the back, but I’m not sure I’m ready to share that yet. Let’s just say it involves pinwheels (well, just one) and pioneer points! Tonight’s mission is basting.
In other news, I’ve finished my second Modern Meadow Mug Rug which features not only Joel Dewberry’s luscious prints, but Robert Kaufman’s Kona Cotton in Ash. I see a lot of people using Ash as a neutral background and now having worked with it, I see why. While it’s a very subdued color it seems to go equally well with warm and cool tones.
This little mug rug also gave me some good practice for lots of upcoming zigzag quilting. As I said, mug rugs are the perfect place to try out new skills. One more rug to go!
![]() |
| The front |
![]() |
| The back |
Monday, April 25, 2011
My Introduction to HSTs
Every quilter eventually has to face the versatile Half Square Triangle (HST) and, admittedly, I was looking forward to the encounter. As an avid reader of Red Pepper Quilts, I’ve fallen in love with HST quilt patterns of all sorts from the pinwheel to the zigzag because Rita has mastered the art. Let’s face it, these guys are a quilting necessity and I needed to add them to my tool box. So as I was designing a baby quilt for the little boy of an architect, I knew that zigzags were the way to go. Strong lines, bold colors, yet playful and fun. The HST had to be conquered.
I started out mostly using this simple tutorial showing the quick easy way to make HST. I have to say that I do think that this is the best way to make them and it seems that many people would agree with that. However, I was still unsure about what size to cut my squares and how to trim them up well. I wanted my finished squares to be 5.5” before piecing, so I started out cutting my squares to 6”, but after making a few found that when I went to trim, some of them were a bit lean. So I went up to 6.5” and found that though I had more scraps, and certainly bigger than the scraps featured in Rita’s scrap bowl, that the one inch extra is probably good for me for now. And hey, I’m new at this business!
Anyways, after all of my HSTs were trimmed, I came across this brilliant tutorial by Jackie at Canton Village Quilt Works. Amazingly enough, this is exactly what I did (though I don’t have a perfect square tool) even down to the ironing after I stitched down the middle. Though, I did that not so much to set my stitches, but because I found the they got a little stretched out as I stitched. Is that normal? I tried to be careful because of the biases, but still, they got a tiny bit wonky and found that the steam helped them tighten up again.
So after much cutting, sewing, ironing, and trimming (and much back pain due to crouching over my dining room table to line up my ruler right) I have a lovely stack of half square triangle blocks. Ta-da!
Now I’m just praying these babies will line up okay once I get to joining them. Any advice on how to press them so I won’t get such bulky points, or is that to be expected?
Thursday, April 21, 2011
My First Mug Rug
I’ve been reading about mug rugs all over the quilting blogosphere so these cute little guys have been on my mind lately. There was even a week of Mug Rug Madness (check it out!) Though I’m on a time-crunch to finish up a commissioned baby quilt (I’m working on it, I promise!), we have a friend who is getting married at the end of April and when I checked out his registry and saw three Fiesta mugs, I knew that they would be perfectly paired with some Modern Meadow mug rugs. And who wouldn’t want some adorable little mug rugs to go along with some new mugs? These sweet little mats invite you to not only grab a cup of coffee or tea, but a cookie or a piece of cake to go with it.
While these mini quilts brighten up your table and catch your crumbs, they are also quick and easy to make! I made the whole quilt (minus the binding) in less than an hour or so and was able to hand finish the binding before one episode of Downton Abbey had finished up. The other great thing about mug rugs is that you can practice new piecing, stitching, or binding techniques and not feel like you’ve ruined thirty hours worth of work if something goes wrong. I might try out machine finishing my binding on one just to try it out.
I have two more to go to finish up the set.
I found the design for this particular mug rug on a blog that I’ve recently discovered by Ryan Walsh (who not only is a great quilter, but has a really nicely designed blog, too!) I used the template that he very kindly provided in his tutorial for this fun Dresden wedges mug rug.
And there is something about guys and their mug rugs, because I think my next mug rug will probably be patterned after this red and aqua rug by John over at Quilt Dad. This guy is amazing and is not only a talented quilter and designer, but also seems like a sweet dad. Check him out!
This cute little quilt is 6” x 10” and hopefully will be used for many years under many great cups of coffee. Just throw some of Kim Boyce’s cookies on there and you’ll never want to leave.
Saturday, April 16, 2011
Modern Meadow Quilt-Finished
It's true, I'm finally finished with my custom ordered Modern Meadow Quilt and I'm so pleased with it! I just love these fabrics from Joel Dewberry's line.
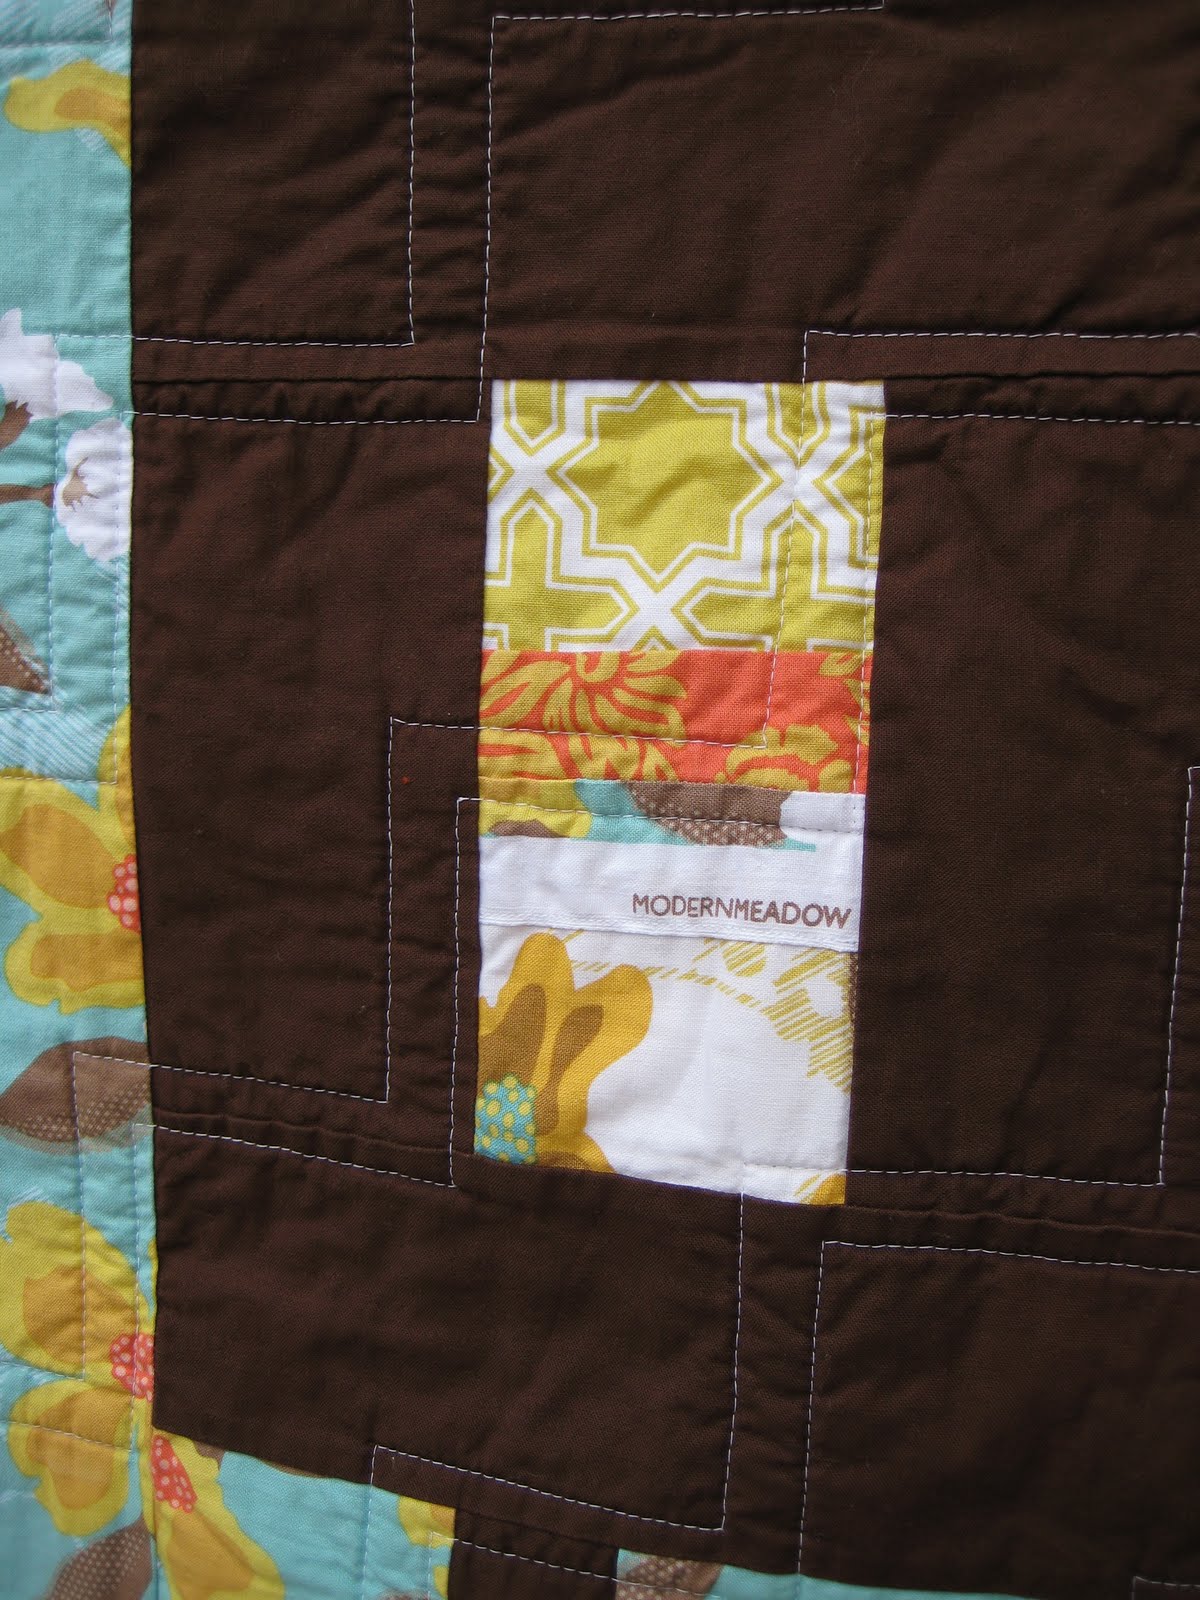
The back of the quilt features the Dogwood Bloom print in this beautiful turquoise as well as small scraps and selvages of some of the other fabrics in the line. The back was partially inspired by the back of Angela's Kaleidoscope Quilt over at Fussy Cut (I love her colorful quilt and her blog!)
I used a couple of the selvages to label the quilt and to add a little bit of interest to the back blocks. I love how they turned out and definitely plan to use more selvages in my future quilts.
This quilt is now settling into its new home in Ohio.
About this Quilt
Fabric: Joel Dewberry's Modern Meadow and Robert Kaufman's Kona Cotton in Chocolate
Size: approx. 48" x 60"
Pattern: Descending Squares
Quilting: Machine Quilted in a Step Pattern
The back of the quilt features the Dogwood Bloom print in this beautiful turquoise as well as small scraps and selvages of some of the other fabrics in the line. The back was partially inspired by the back of Angela's Kaleidoscope Quilt over at Fussy Cut (I love her colorful quilt and her blog!)
This quilt is now settling into its new home in Ohio.
Friday, April 8, 2011
Spoiler Alert!
Guess what I did this week. I finished my Modern Meadow Quilt! I know that makes at least one of my readers very happy since it has her name on it (not literally) and is being shipped off to the great state of O-HI-O on Monday! But since I want her to see it in person before I give it all away on my blog, I thought I'd share just a few teasers this week and will do the full reveal next week after she receives it. I just want my faithful readers to know I haven't just been twiddling my thumbs while admiring my long-finished quilt top. I really have been working! See...?
I love this quilt. It's my favorite so far and even though I see the little mistakes, I also see a marked improvement each time I make a new quilt. So at least I know I'm growing into a better quilter each time and I always learn some good lessons. Okay, okay, one more spoiler...
Tune in next week for the full reveal!
I love this quilt. It's my favorite so far and even though I see the little mistakes, I also see a marked improvement each time I make a new quilt. So at least I know I'm growing into a better quilter each time and I always learn some good lessons. Okay, okay, one more spoiler...
Tune in next week for the full reveal!
Subscribe to:
Posts (Atom)